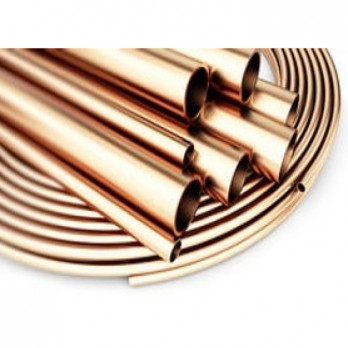
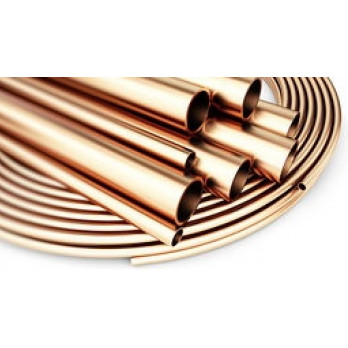
Copper pipe is highly regarded for plumbing applications due to its durability, corrosion resistance, and versatility. These pipes are considered one of the best materials used for plumbing.
If you're new to plumbing, the idea of connecting copper pipes may seem daunting. However, it's a simple process that requires basic tools and knowledge. UBZ, a well-established company with extensive experience in this field, has prepared a comprehensive guide to help you join copper pipes successfully. This step-by-step guide outlines the process for joining copper pipes and provides helpful tips to ensure a satisfactory outcome.
5 Steps to Joining a Copper Pipe
Below are some crucial steps that will assist you in joining a copper pipe:
Step 1: Cut the Copper Pipeline
The initial step in joining a copper pipeline is cutting the pipe to the appropriate length. Using a pipe cutter instead of a saw is crucial to ensure a clean cut. A saw can create rough edges that interfere with the connection, leading to leaks. To use a pipe cutter, place the pipe in the cutter and tighten it around the pipe. Rotate the cutter around the pipe until it is cut.
Step 2: Deburr the Ends of the Pipe
After cutting the copper pipe to the desired length, it's crucial to remove any burrs or rough edges on the pipe's end. This ensures a smooth connection and prevents leaks. To remove the burrs, use a deburring tool or sandpaper to sand the end of the pipe. Run the deburring tool or sandpaper around the pipe's edge until it's smooth, ensuring that there are no rough or sharp edges that could damage the O-ring or cause leaks.
Step 3: Clean the Pipe and Fitting
Before joining the copper pipe to the copper pipe fitting, it is crucial to clean both components thoroughly. The pipe and fitting should be free of any dirt, debris, or oxidation that may interfere with the connection. To clean the pipe and fitting, use a wire brush or cloth to remove any contaminants. Scrub the pipe and fitting until they are clean and shiny. This ensures that the connection is tight and free of leaks. Any dirt or debris on the pipe or fitting can interfere with the sealing process, causing leaks or weakening the joint over time.
Step 4: Apply Flux
Flux is a paste or liquid used to facilitate the soldering process by removing oxidation and ensuring a tight connection. A thin layer of flux should be applied to the end of the pipe and inside the fitting, covering the entire surface. Even coverage with a brush or applicator is important to prevent weak or incomplete seals that can lead to leaks. The right amount of flux ensures a successful soldered joint.
Step 5: Assemble the Joint
With the flux applied, it's time to assemble the copper pipe joint. First, insert the end of the pipe into the fitting and ensure that it is fully seated. Then, use a pipe wrench to tighten the fitting onto the pipe. It's important not to overtighten and damage either the pipe or the fitting.
Step 6: Heat the Joint
The next step in joining copper pipes is to heat the joint using a propane torch. Hold the torch away from the joint and apply heat to the copper pipe fitting. As the joint heats up, apply solder to the joint. The solder will melt and flow into the joint, creating a tight and secure connection.
Step 7: Allow the Joint to Cool
Once the joint is soldered, it's essential to allow it to cool completely before turning on the water supply. Allowing sufficient cooling time ensures that the joint is solid and leak-free. To speed up the cooling process, you can use a damp rag to cool the joint.
These are the significant steps for joining a copper pipeline. By following these steps carefully and using the proper tools and materials, you can create a strong and durable connection that will last for years to come.
Tips to Remember for Successful Pipe Joining
While joining copper pipes is a relatively simple process, there are some important tips to follow to ensure a successful outcome:
- Use specialized plumbing tools such as a pipe cutter, deburring tool, wire brush,and propane torch when joining copper pipes.
- Cut the pipe straight and remove any rough edges or burrs to ensure a tight and secure connection.
- Clean the pipe and fitting thoroughly using a wire brush or emery cloth to remove any dirt, debris, or oxidation that may interfere with the connection.
- Apply flux liberally to the end of the pipe and inside the fitting to facilitate a smooth and tight connection.
- Heat the joint evenly using a propane torch while applying solder to ensure a tight and secure connection.
- Do not over-tighten the fitting onto the pipe as this can lead to cracks and leaks. It is recommended to use a calibrated torque wrench if unsure of how to make the connection tight.
- It is essential to wear appropriate safety gear such as safety goggles, gloves, and protective clothing to protect yourself from any potential burns. In addition, having a fire extinguisher nearby can provide peace of mind in case of an accidental fire.
Conclusion
By following the aforementioned steps, joining a copper pipe is a simple process and can result in secure and long-lasting connections. However, if you encounter any difficulties or lack the necessary expertise, seeking professional assistance is always recommended.
At UBZ, we are a leading company that provides professional assistance in joining copper pipes. Our team comprises of skilled and experienced professionals who can ensure that your pipe connections are secure and reliable for years to come.